How to Blend Colored Pencils on Printed Coloring Pages
How to get smooth, even blends on a coloring page printed at home: layer lightly, burnish last, and skip the oil and water tricks that ruin thin printer paper.
Theru Studio10 min read
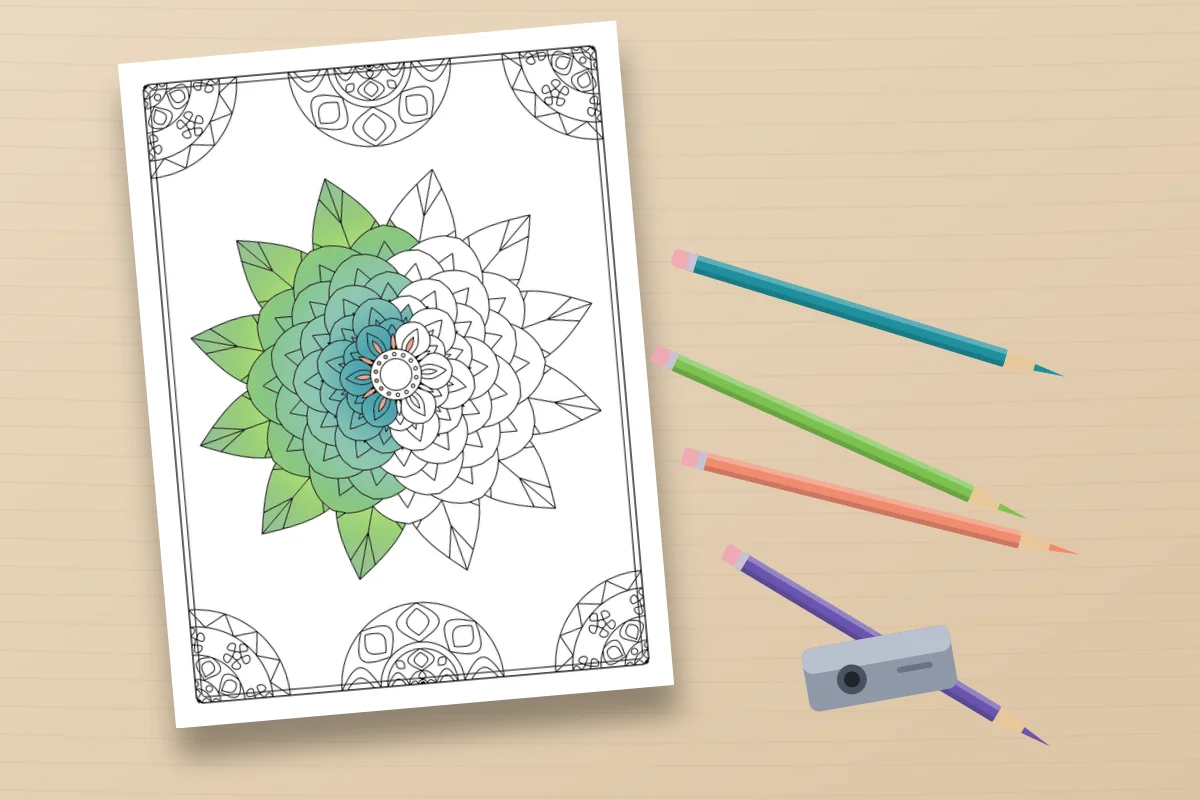
Blending colored pencils comes down to this: put down two or three neighbouring colours in light layers, feather them into each other, and only press hard at the very end, if at all. On a page you printed yourself, the paper and the printer ink matter more than the pencils, and a few popular tricks can ruin a printout.
Most blending guides are written for drawing on art paper. A coloring page is different: the shapes are small, the outlines are already printed, and the sheet is often ordinary copy paper.
The short version
- Use 3 or 4 light passes instead of one heavy one, and change stroke direction each pass.
- Keep each area to one colour family. Unrelated colours turn muddy.
- Burnish last. A burnished surface takes very little more colour.
- Skip baby oil, Vaseline and water on printed pages. Use solvent only on heavy paper, and test it first.
- Do a 10-minute swatch test on the back of your printout before you start on the real thing.
Start with your paper and your printout
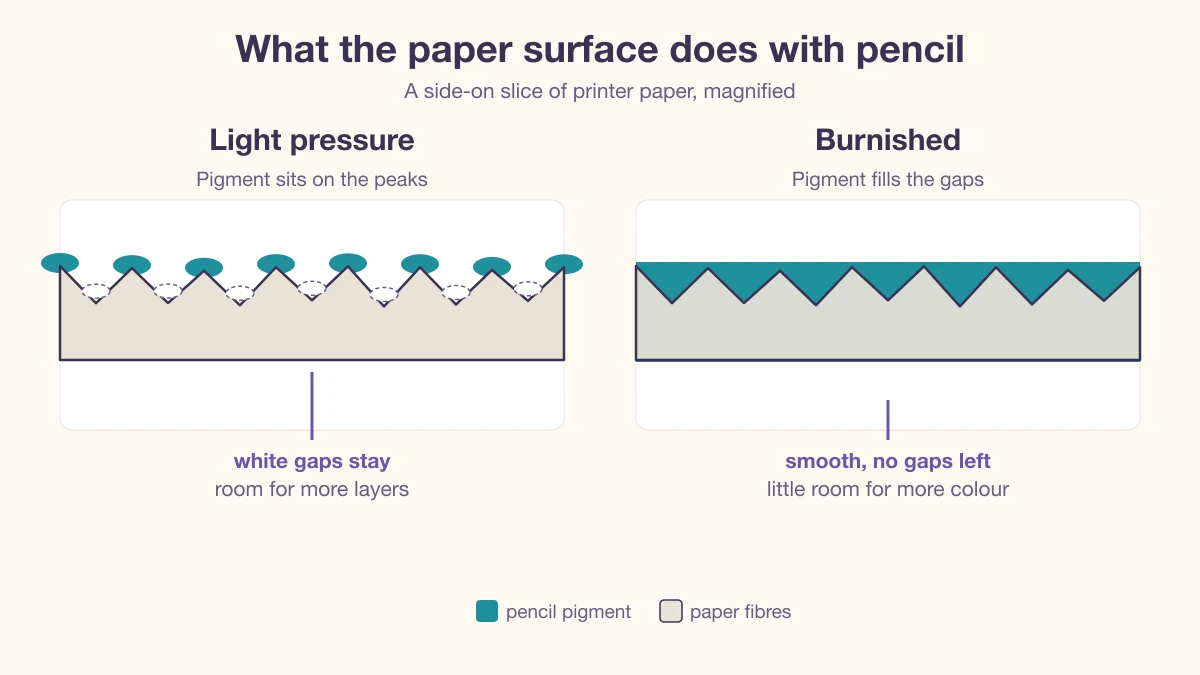
Thin copy paper is the main limit. It has little tooth to hold layers, heavy pressure can emboss it or make it ripple, and wet methods can soak straight through. You can still blend on it. Just pick a method that suits the sheet.
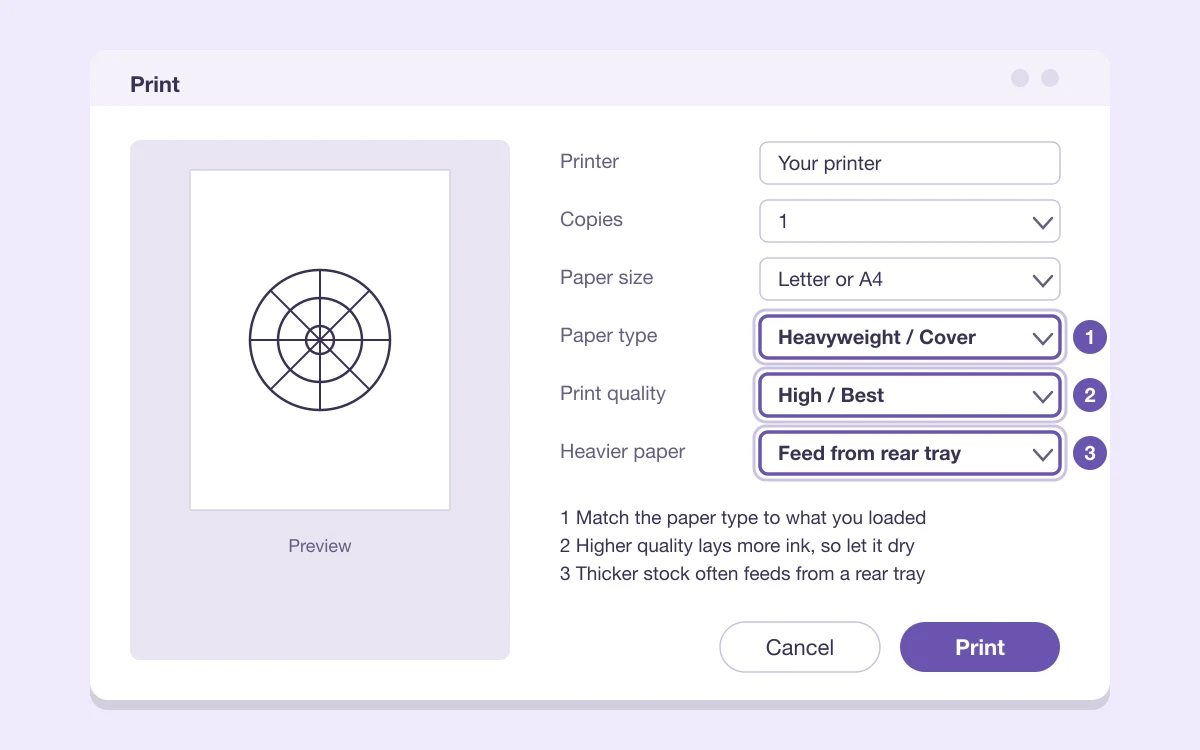
If you can, print your favourite pages on heavy cover stock or Bristol. Check that your printer can feed it before you buy a pack. One guide we read recommends paper in the 28 to 32 lb range for solvent and hard burnishing, which is above standard copy paper.
Smoother paper blends easily but holds fewer layers. Textured paper holds more layers but shows grain. Bristol is a common smooth choice.
Check how your printer ink behaves
Dye inks are water-soluble and can smear when wet. Pigment inks sit on the surface and resist smearing. Canon's printer documentation describes the difference. Some inkjet blacks also smear when solvent touches them, and that is the usual way a good blend ruins the outline.
Laser toner is fused to the page, so it probably resists solvent better, but we have not tested that, so treat it the same way: test first.
Choose 3 or 4 colours per area
Muddy results usually come from too many unrelated colours, not from poor blending. For each petal, leaf or section, pick a light, a mid and a dark from the same family, plus one bridge colour that sits between two of them.
On a mandala, go one step further and choose 3 or 4 colour families for the whole page, for example blue, teal and green with one warm accent. Reuse them everywhere. The page then reads as one piece instead of a pile of separate blends.
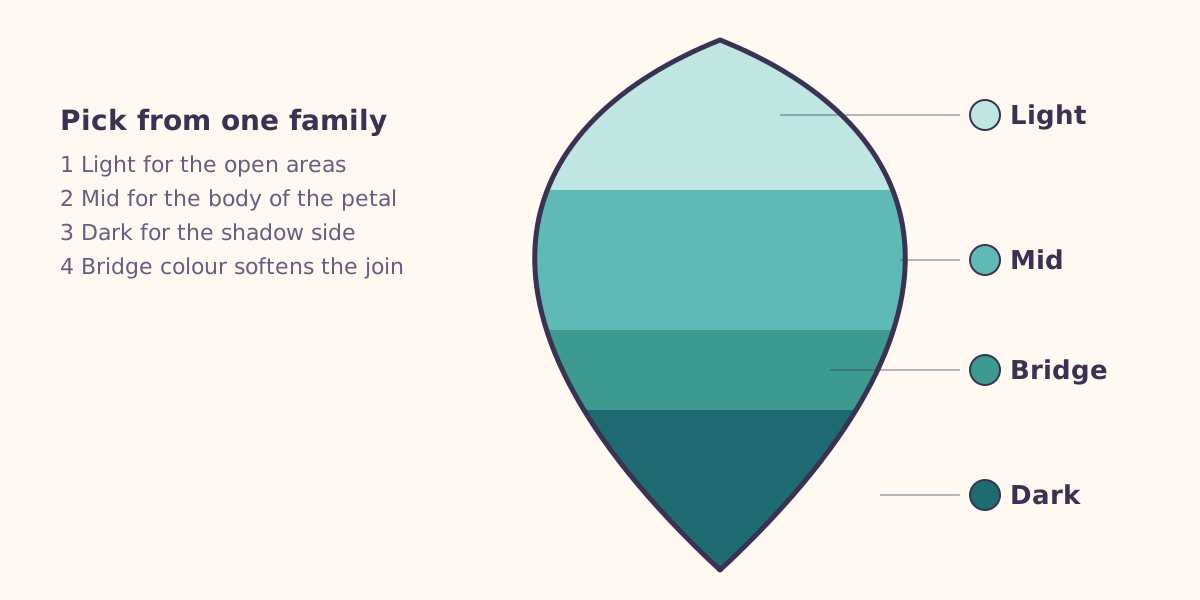
Method 1: light layering
This works on any paper, including the cheapest copy paper, and it is the base for everything else. Start light and increase pressure only a little with each layer. After about 3 or 4 layers the paper's tooth fills and the surface looks smoother.
Layer one petal
Sharpen first
A blunt tip is the main cause of speckled fills inside small shapes. Sharpen often.
Darkest colour first, only where the shadow is
Work from the outline inward, with short strokes of 5 to 10 mm. Rotate the page so your hand pulls toward you.
Bridge with the mid colour
Overlap the dark colour slightly. Make your strokes lighter and sparser where they meet the other colour.
Finish with the lightest over the join
This softens the line where the colours meet.
Repeat 2 more times
Change stroke direction each pass: horizontal, then circular, then diagonal. Three light passes of the whole sequence blend better than one heavy pass.
The gradient streaks you sometimes see come from stopping at a hard edge. Feather instead: let each colour fade out into the next with lighter, sparser strokes until the two overlap.
Method 2: burnish last
Burnishing means pressing firmly in small circles with a colorless blender, a white pencil, or the lightest colour in the area. It pushes the pigment into the paper and gives a smooth, slightly glossy finish. Do it as the last step. Once burnished, the surface takes very little more colour.
Two warnings. It is a one-way street, so layer first and be sure. And on thin copy paper, firm pressure can emboss the sheet and make it ripple. Slip a spare sheet underneath to cushion it and to stop marks from the page below. A colorless blender can also darken your colours a little, so test that in your swatch.
If a thin sheet starts to ripple, stop burnishing and go back to lighter layering. For a page you really care about, print it again on heavier paper.
Method 3: solvent, with care
Odorless mineral spirits on a cotton swab melts the wax and gives the smoothest blend. It suits heavy paper and cardstock. On copy paper, be stingy or skip it.
Lay down 2 or 3 light layers first
Light to dark, as in Method 1.
Use a nearly dry swab
Dab off the excess. You want it barely damp, not wet.
Work light to dark in small circles
Keep the swab inside the lines and away from the printed outline.
Let it dry fully
Guides disagree on how long. Wait until the paper feels completely dry, at least 10 minutes if unsure, before adding more colour.
Do the 10-minute swatch test
Before you commit a favourite page, compare the three methods above on the back of the same printout or a spare sheet of the same paper.
Draw three squares
About 3 cm each, using the same two or three colours in all of them.
Layering only
Fill the first square with 3 light passes, changing stroke direction each time. Nothing else.
Add a blender
Fill the second the same way, then go over it with a colorless blender or the lightest colour, in small circles with firm pressure.
Optional: solvent
Fill the third like the first, then use a nearly dry swab with odorless mineral spirits. Open a window first.
Judge it dry
Wait until the paper feels completely dry, at least 10 minutes if unsure. Look for rippling, soak-through and any smeared print. Pick the method that looks best without damaging the sheet.



What to skip on printed pages
Baby oil and Vaseline blend well on thick art paper. On thin printer paper they soak through, and oil does not evaporate, so it can yellow over time. Vaseline also picks up dust. A colorless blender pencil does the same job without the mess.
Rubbing alcohol is a weak option. If you try it, 70% is gentler than 91%, and thin paper should get only a tiny amount. Plain water mostly buckles the sheet.
| Method | Copy paper | Heavy paper | Printed outline risk |
|---|---|---|---|
| Light layering | Yes | Yes | None |
| Colorless blender | Yes, light touch | Yes | Low |
| Burnishing | Careful, can ripple | Yes | Low |
| Mineral spirits | Usually skip | Yes, nearly dry swab | Some inkjet blacks smear, test first |
| Baby oil or Vaseline | No | Not on printed pages | Soaks through, can yellow |
| Rubbing alcohol | Tiny amounts only | Weak results | Test first |
Blending inside tight printed lines
Coloring page shapes are small, so shading needs a different approach than a sketch does.
Before you start a petal
- Sharp point, and a spare sheet under the page.
- Page rotated so your hand pulls toward you.
- Work from the outline inward: a slightly firmer edge colour, then fade toward the centre.
- Short strokes, 5 to 10 mm, instead of long sweeps.
- A soft brush nearby for pencil dust. Do not use your hand, it smears.
- A kneaded eraser or tissue for lifting crumbs.
Common mistakes and fixes
| Mistake | Why it goes wrong | Fix |
|---|---|---|
| Heavy first layer | Fills the tooth early, no room for more | 3 light passes first |
| Same stroke direction every layer | Visible lines | Rotate direction each pass |
| Burnishing too early | Surface too slick for more colour | Layer first, burnish last |
| Too many unrelated colours | Muddy | One colour family per area |
| Stopping at a hard edge | Streaky gradient | Feather into the neighbour |
| Blunt pencil | Speckled fill | Sharpen often |
| Solvent on copy paper | Buckles, tears, soaks through | Nearly dry swab, or skip |
| Solvent on outlines | Some inkjet blacks smear | Test a corner, stay inside the lines |
Wax bloom and finishing
A white haze on heavily worked or dark areas is wax bloom. It can show up a day after you finish. Wipe it gently with a clean, oil-free tissue. Fixative helps prevent bloom, but it will not remove it once it appears.
Soft wax pencils blend easily but bloom more. Harder oil-based pencils hold fine detail but need more patience to build up colour. Either type works with the methods above.
Practice on a page built for it
A flower mandala is ideal. Its many similar petals let you colour one with layering only, the next with a blender, and the next with solvent on heavy paper, then compare. These two have plenty of petals:
More to browse: flower mandalas, mandalas for adults and flowers for adults. No pencils to hand? You can colour any page online, or print a bound set.
Questions people ask
Can I blend colored pencils without a blender pencil?
Yes. Layer with light pressure and vary the stroke direction, or burnish with a white pencil or the lightest colour in the area.
Can I use baby oil or Vaseline?
Not on printed pages. Oil does not evaporate, can yellow, and soaks through thin paper. Vaseline picks up dust.
Does rubbing alcohol work?
Only weakly. If you try it, 70% is gentler than 91%, and thin paper should get tiny amounts.
Why do my colours look streaky or muddy?
Streaky usually means you stopped at a hard edge or pressed too hard too early. Muddy usually means too many unrelated colours, or too much solvent.
Can I blend on regular printer paper?
Yes, with layering. Burnishing can emboss or ripple it, and wet methods are risky. Heavier paper gives you more room.
How many layers should I use?
Roughly 3 or 4 light layers, with 2 or 3 before you burnish. There is no perfect number. It depends on your pencils, the paper and the method.
What is the white haze on my page?
Wax bloom. Wipe it gently with a clean, oil-free tissue. Fixative helps prevent it.
Written by Theru Studio, the small team behind CrayonNook.
Keep reading
How to print coloring pages at home (and fix faint lines)
Print coloring pages at the right size, on the right paper, with lines that stay dark. Settings for Letter and A4, pencils and markers, plus fixes by symptom.
12 min read